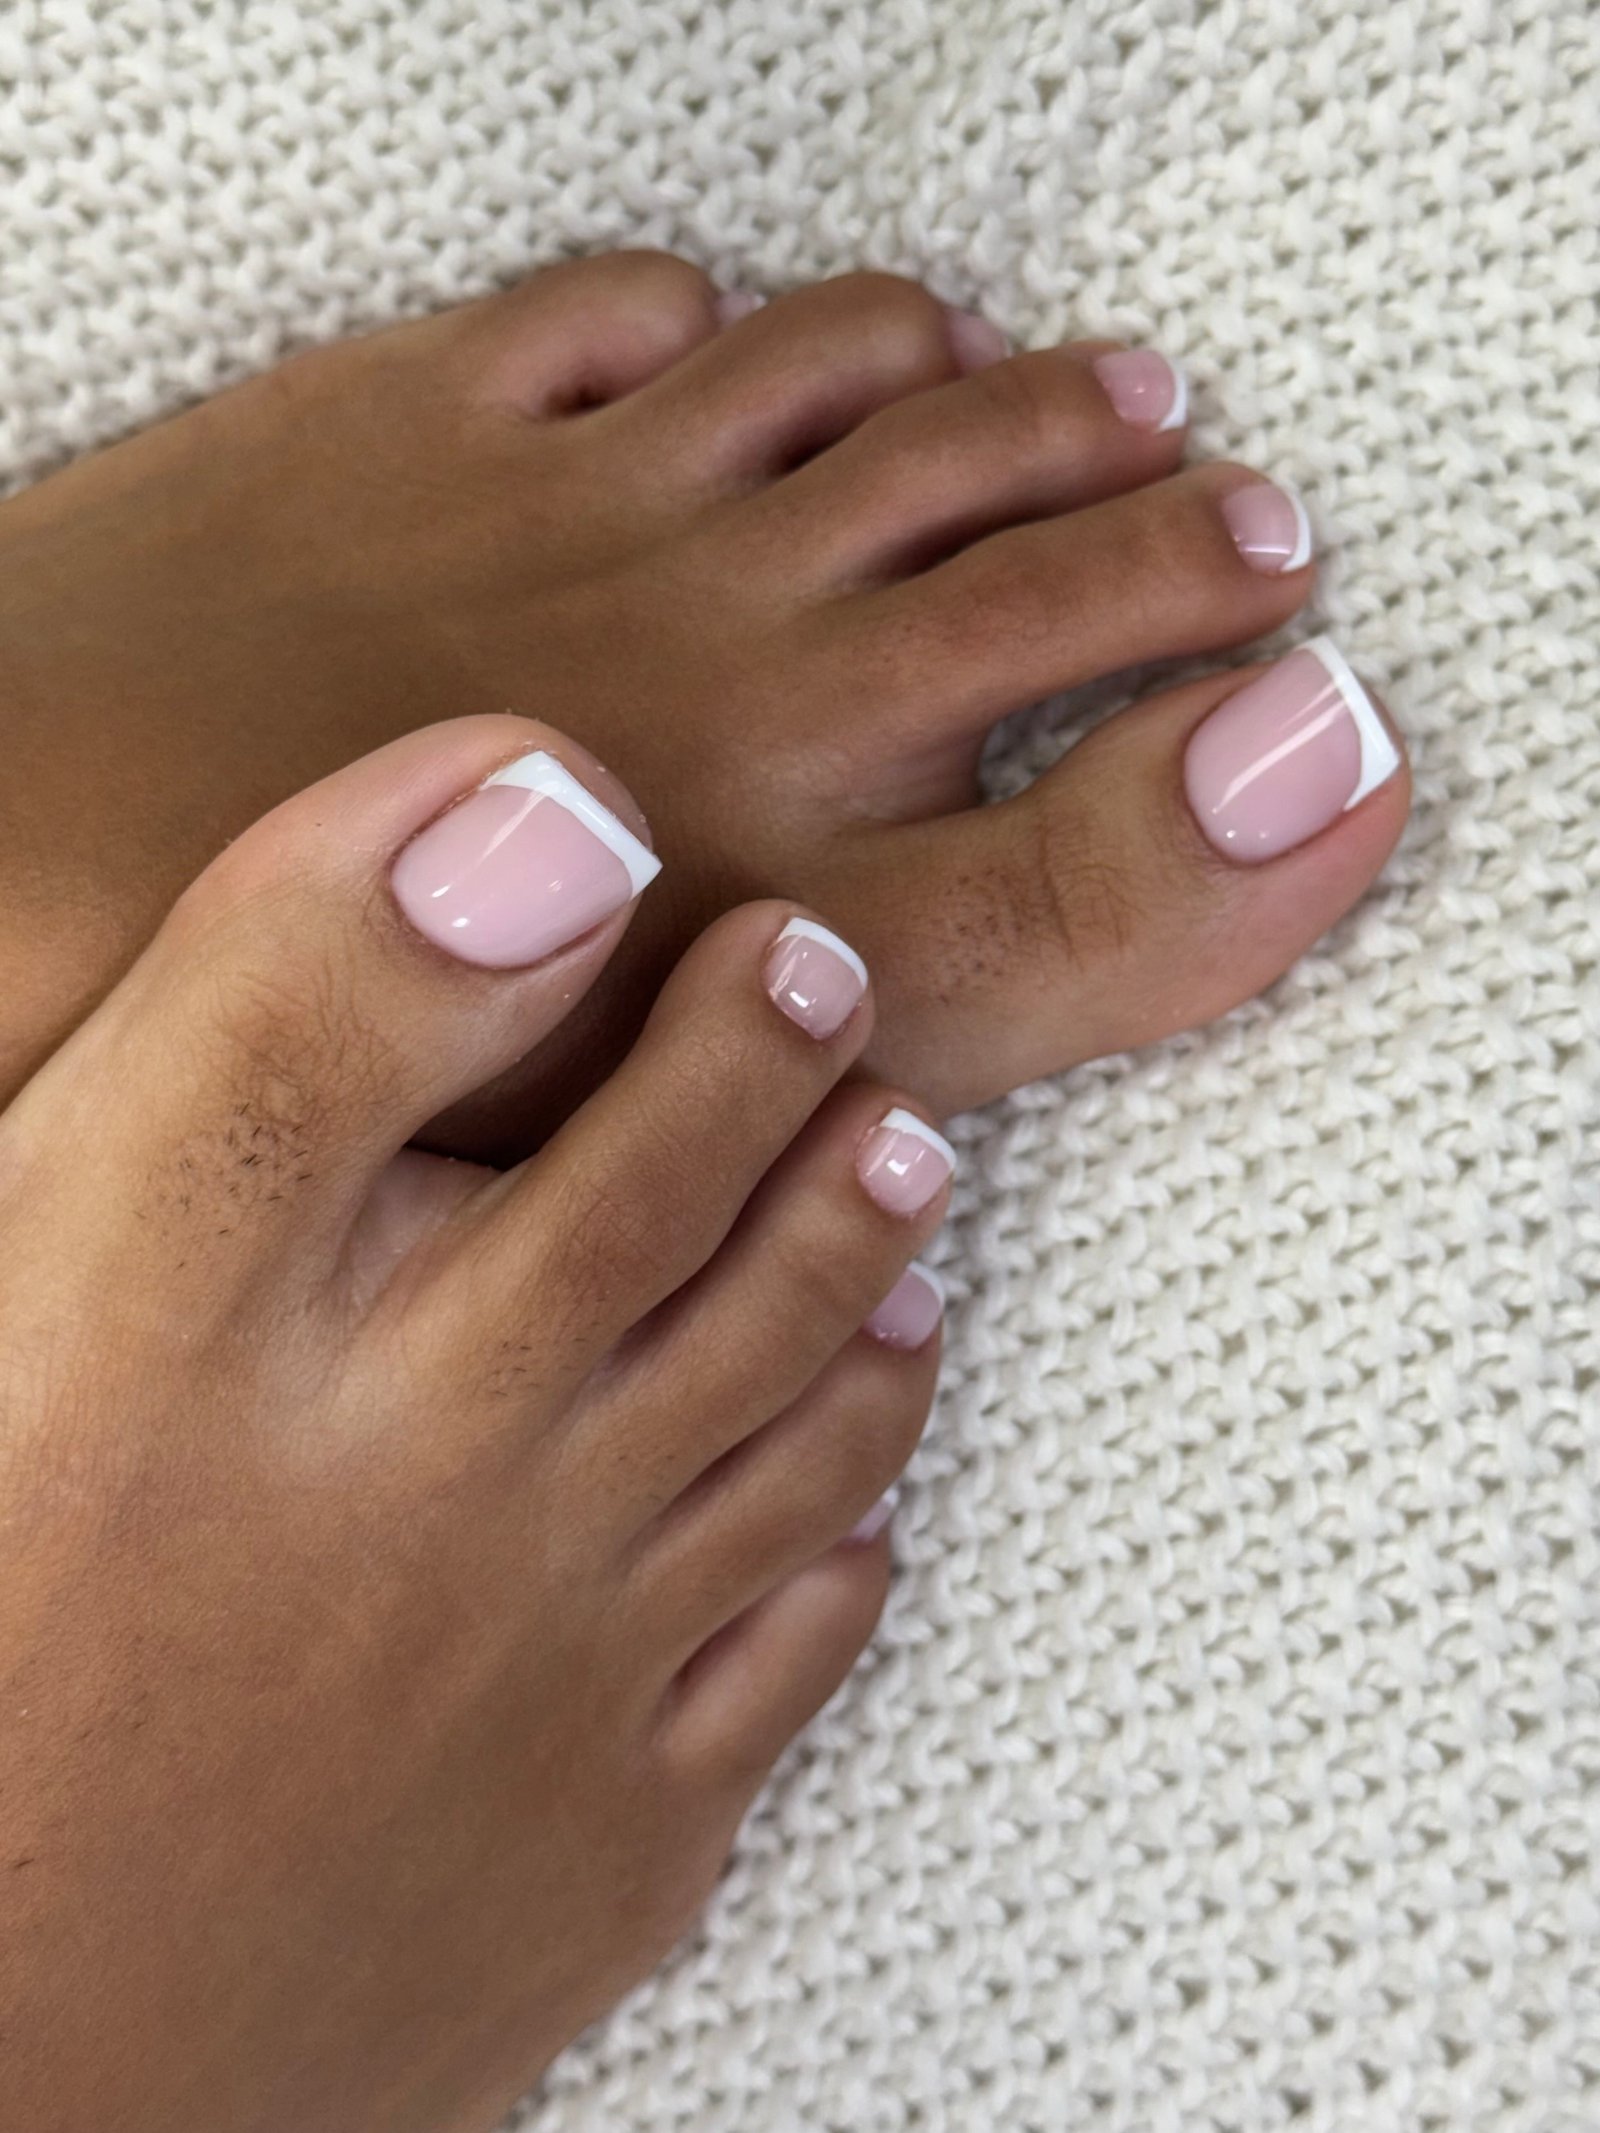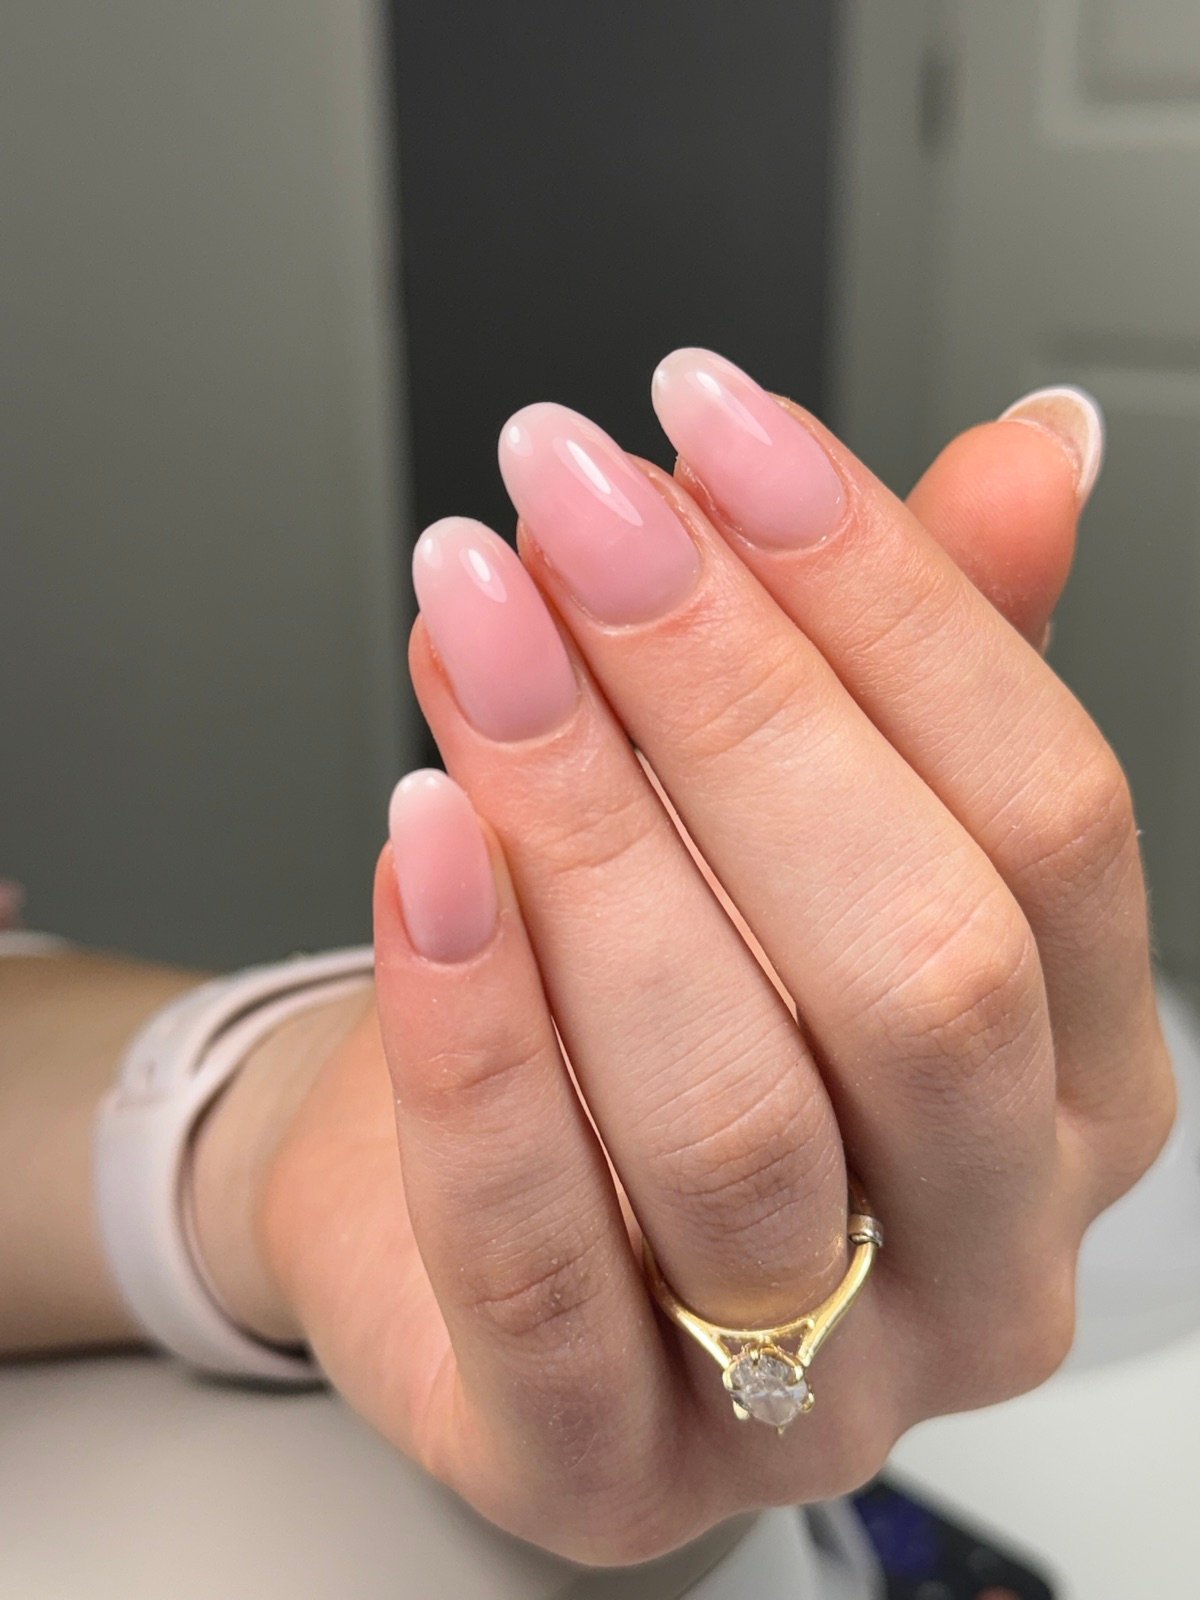
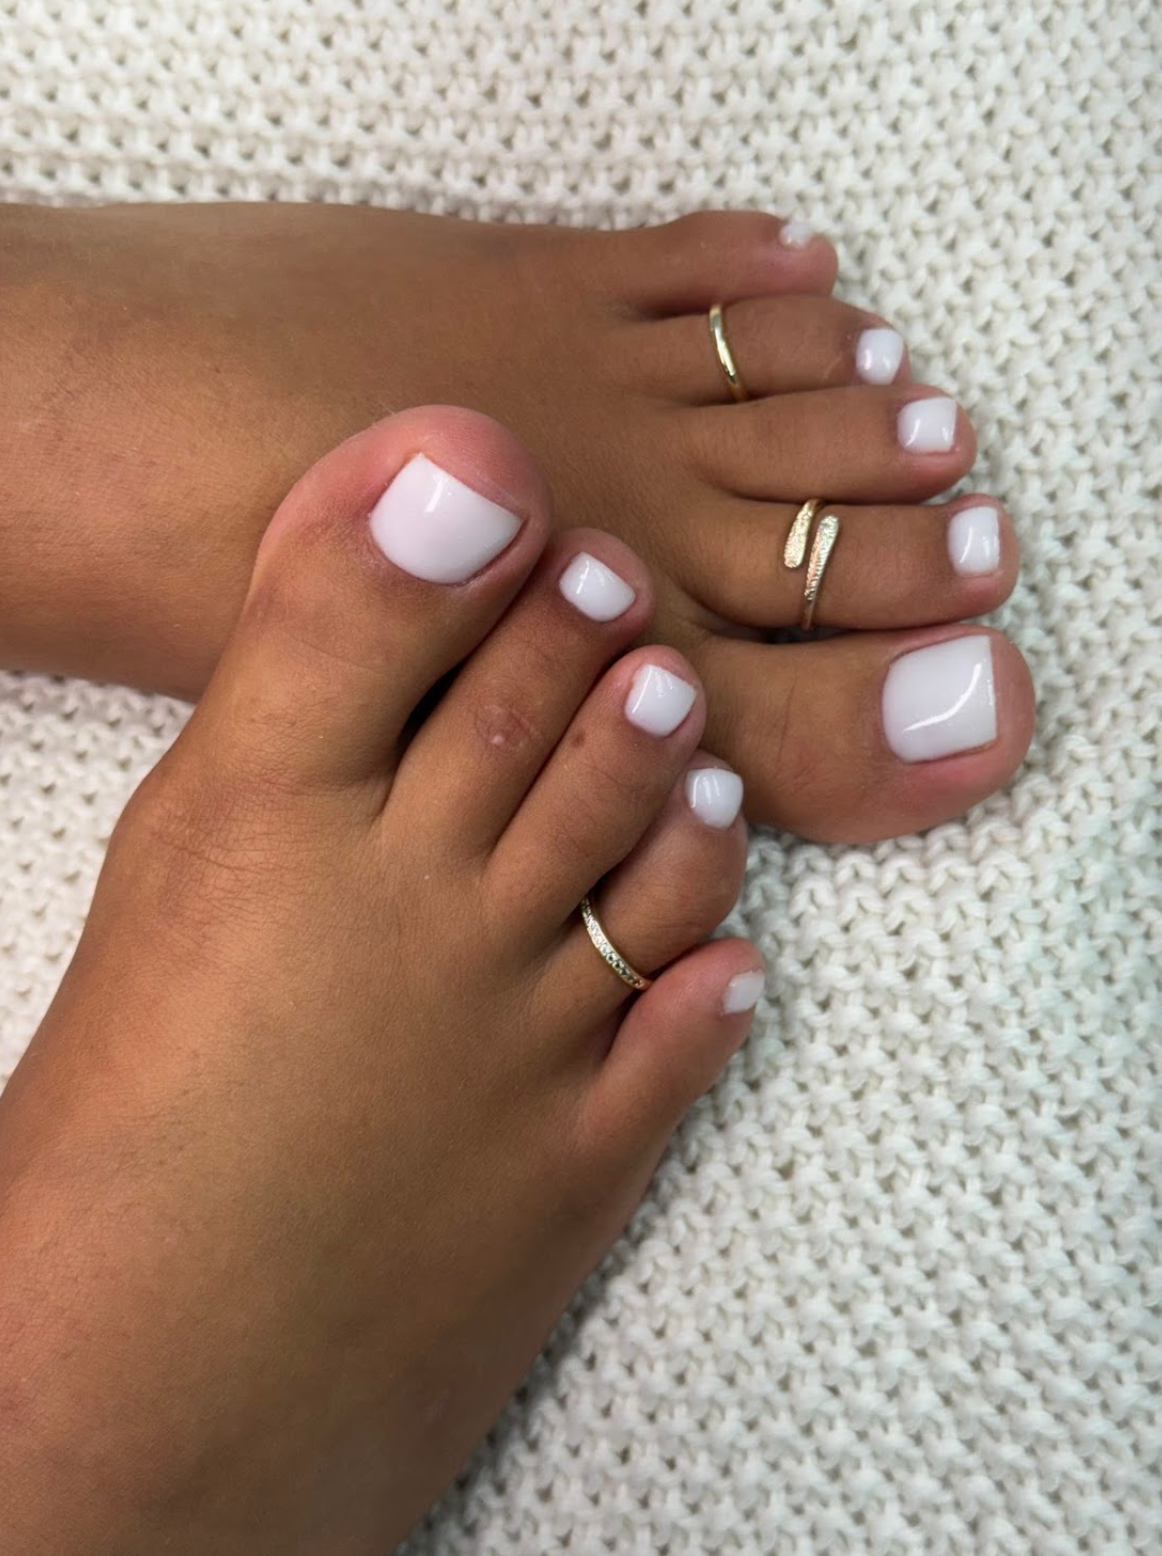
Three angles are usually enough to explain a pedicure design. A full view shows the palette, a low side angle records the finish and one close-up preserves the detail someone might want to reference later.
Show the set as worn
Begin with an overall photo from above or from a slight angle. Include all the toenails, leaving a little breathing room around the feet. Check that the main color is easy to see at thumbnail size.
Take a lower angle
Drop the camera until the edge of the big toenail is visible. Keep the light soft. This angle can show how a French tip continues around the edge or how a glossy finish follows the nail.
Choose one close detail
End with the most characteristic detail, such as a micro line or a faint shimmer. Keep the photo that adds information the first two angles did not capture.
Nail Boss Studio Tampa
Explore pedicure photos
Browse Nail Boss Studio’s gallery for colors and finishes to save with your appointment reference.