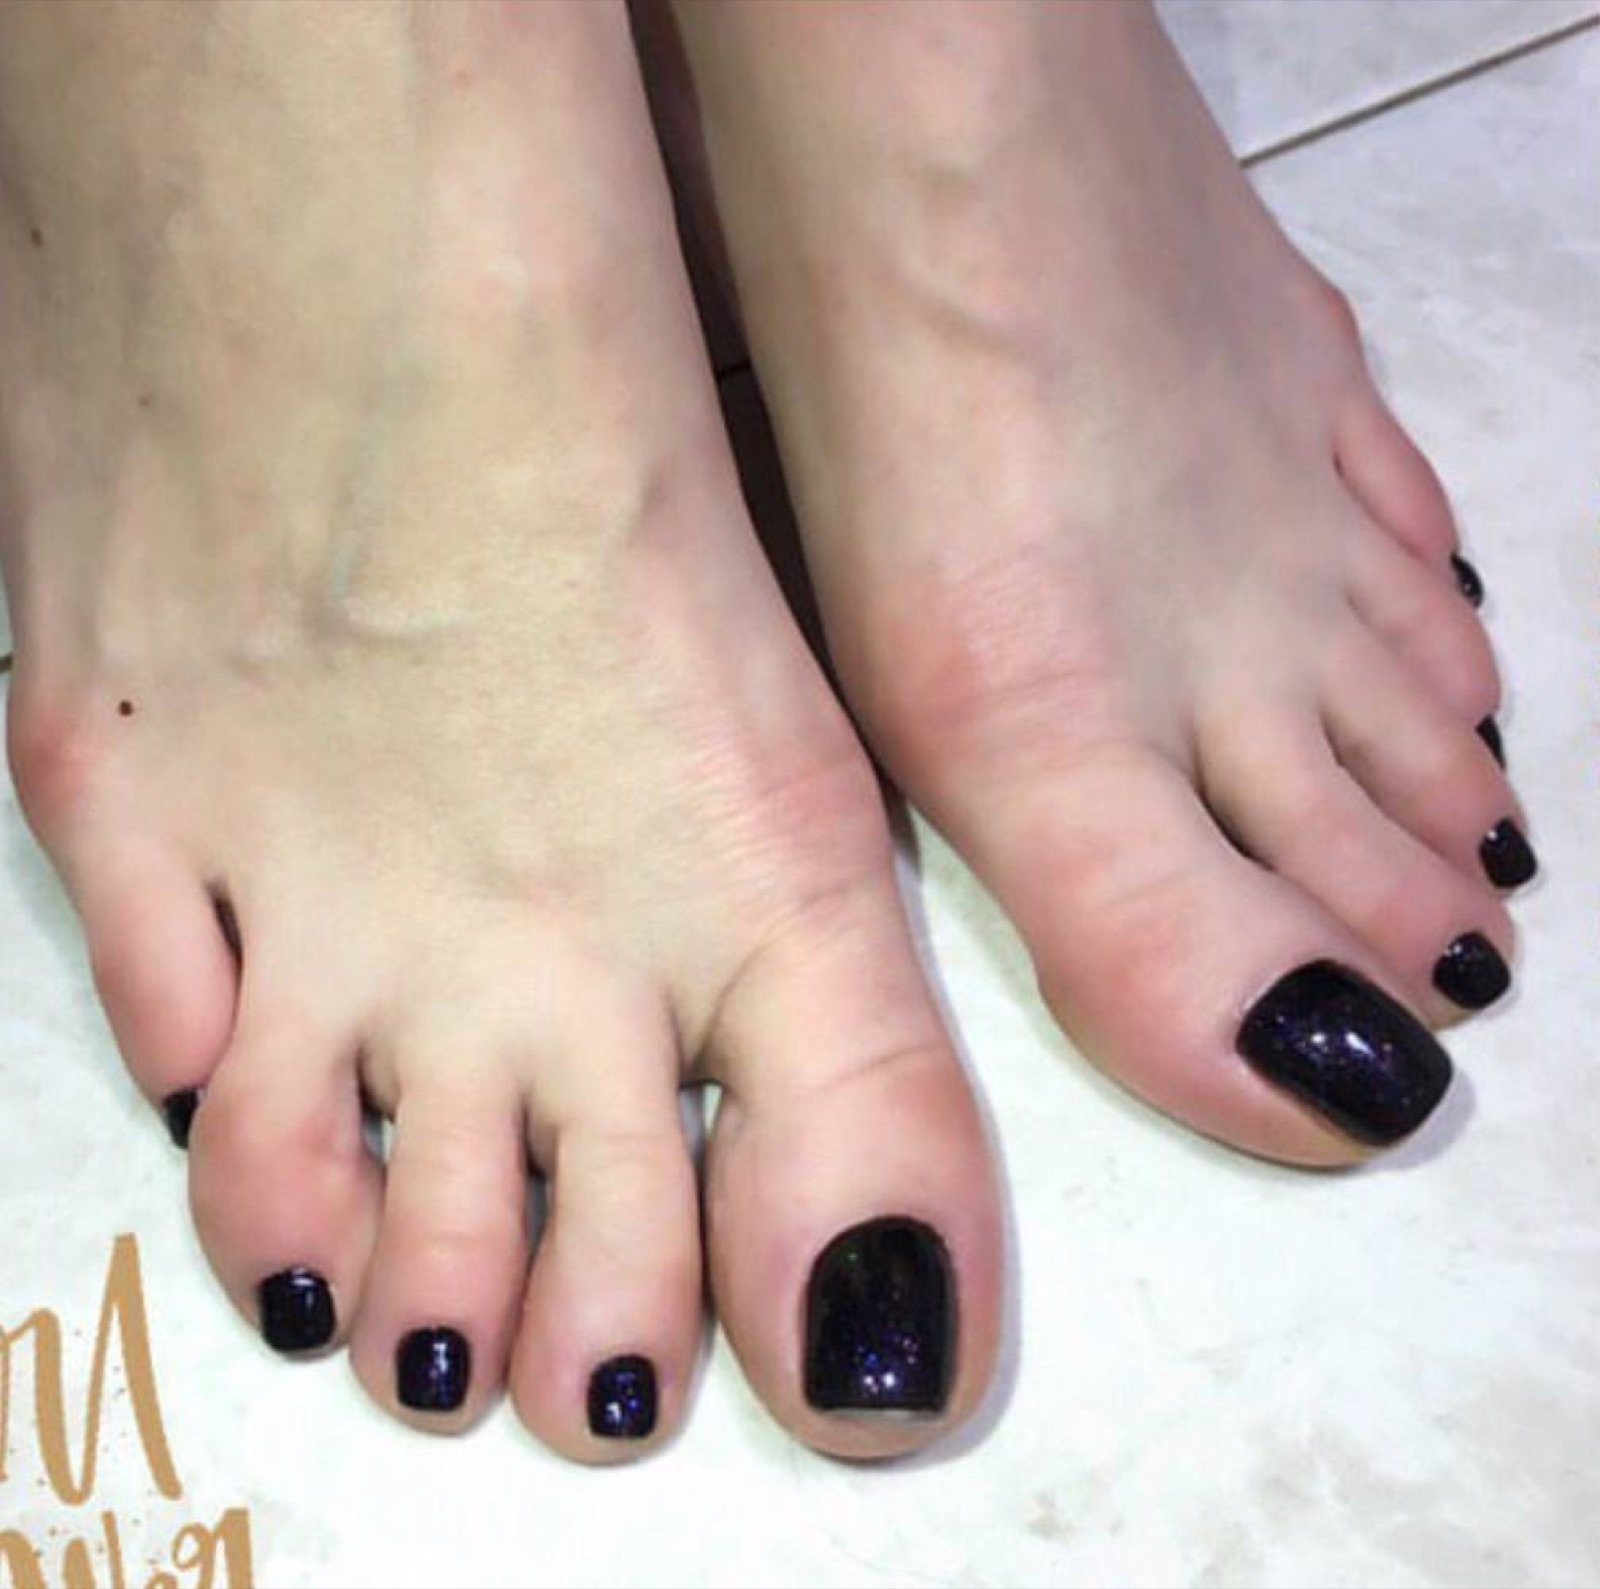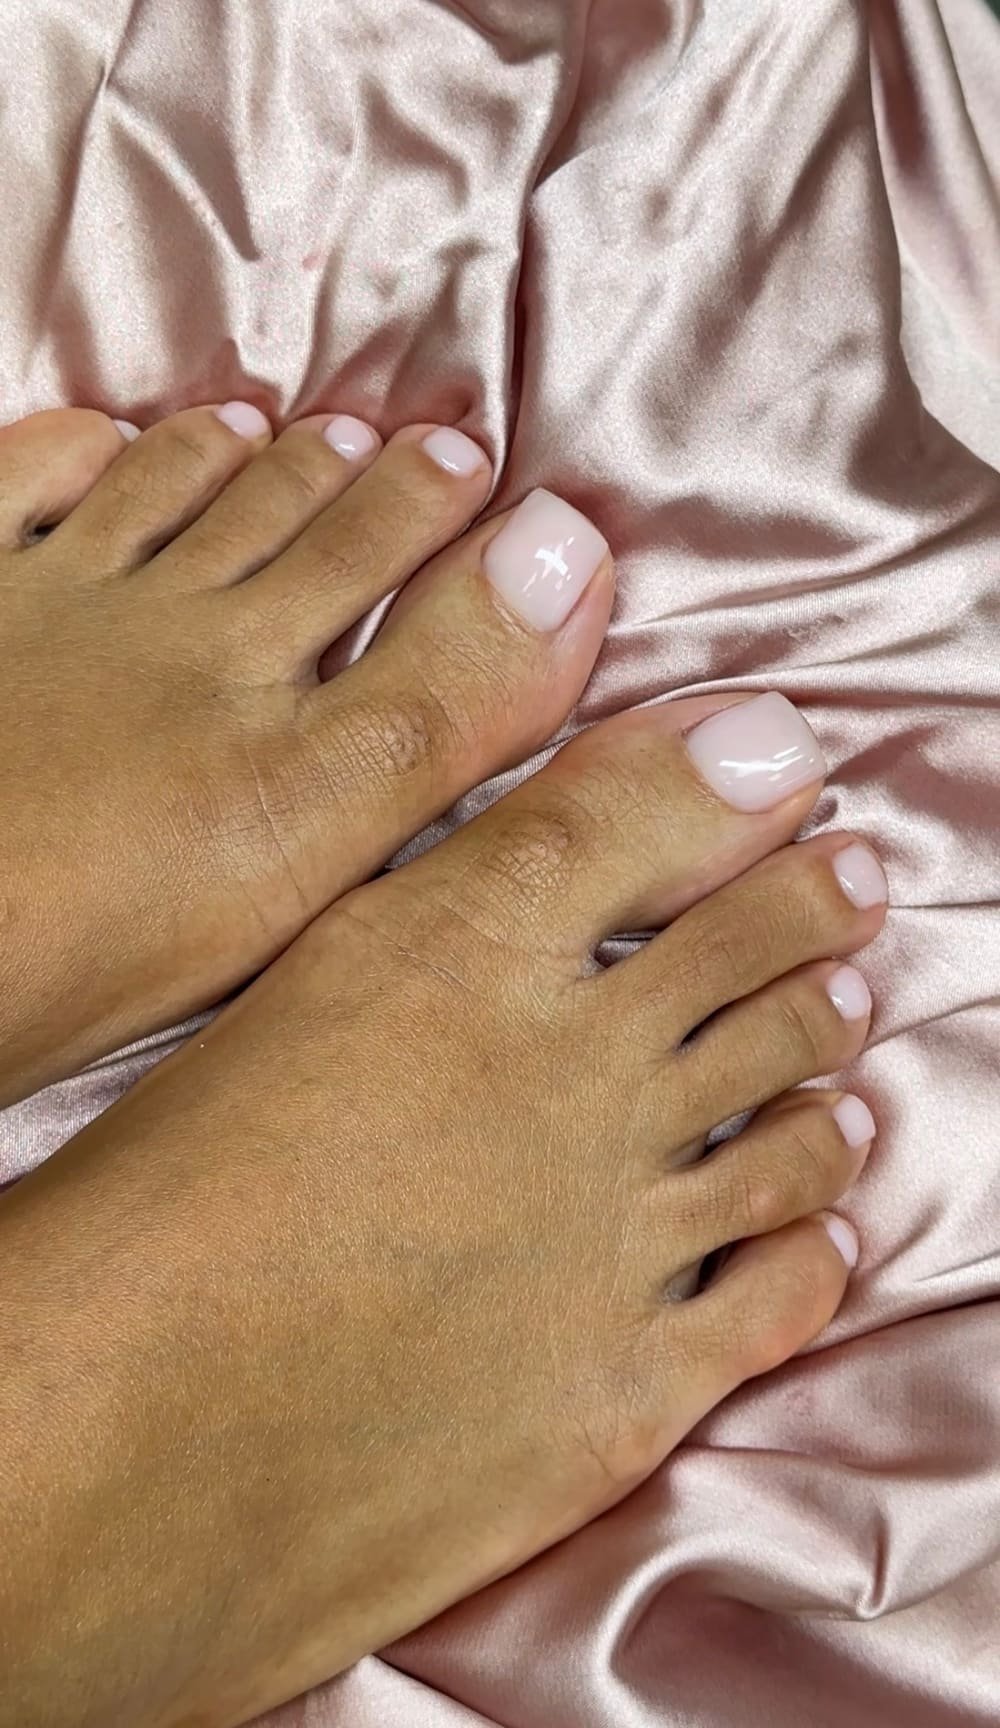
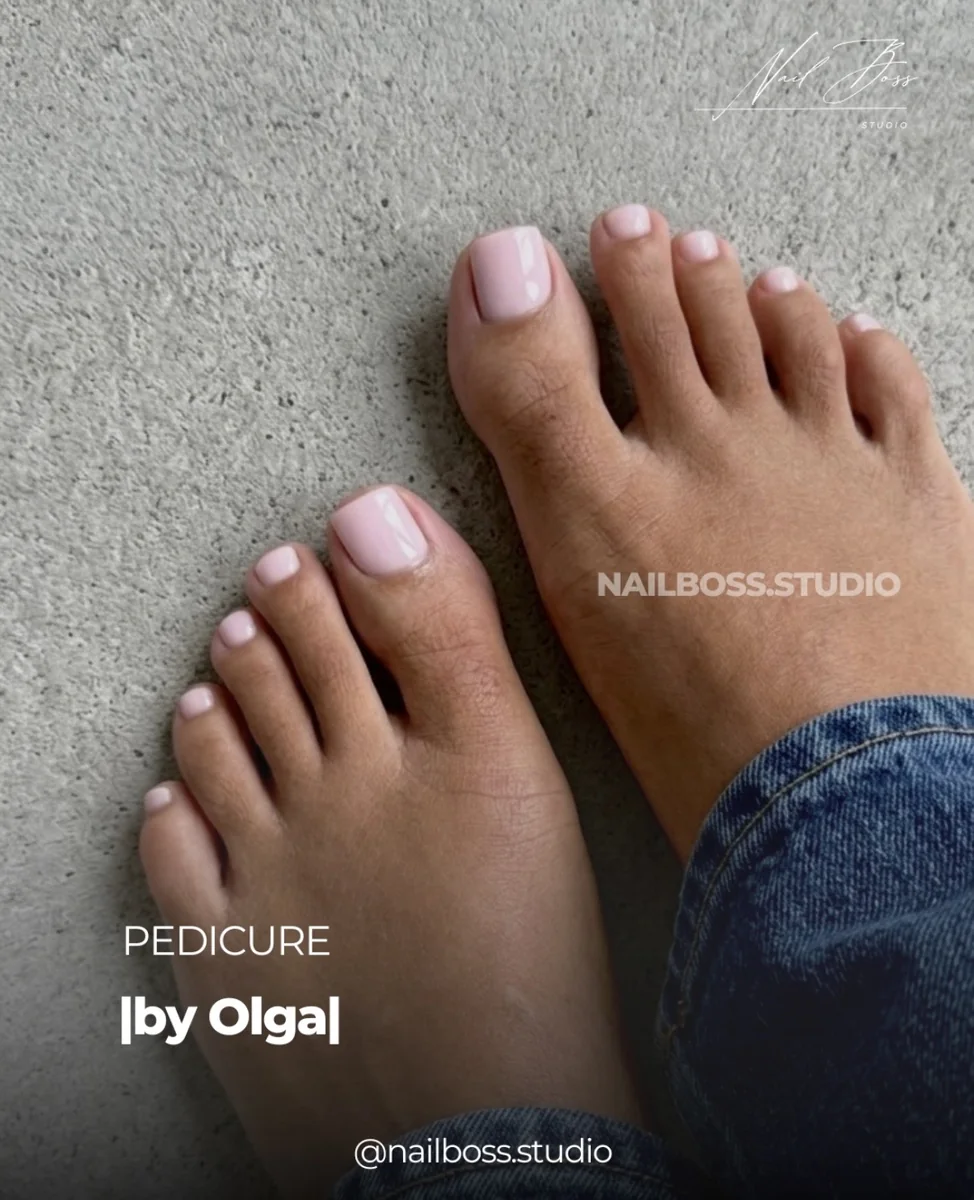
For a dry pedicure in Tampa with one small detail, pick the position that will still make sense if a bare band becomes visible at the base. A thin line set against that base draws attention to the band. A small center dot or a corner mark gives your eye another place to look. Sketch the same accent in three positions to see which relationship matters to you.
1. See where the new gap may appear after a dry pedicure
Start with the part of your big toenail next to the skin. During wear, the coating moves outward with the nail, and a band can become visible behind it. A thin arc that sits right at that starting edge can make the spacing easy to see. If you like that look at first, ask yourself whether you would still like the design when the arc has moved a little forward.
If a ‘Russian Pedicure near me’ search brought you to a picture you like, keep the full image. A tight crop may hide the natural edge or leave out a gap that was part of the design. Show where the arc starts and how much plain space you want around it.
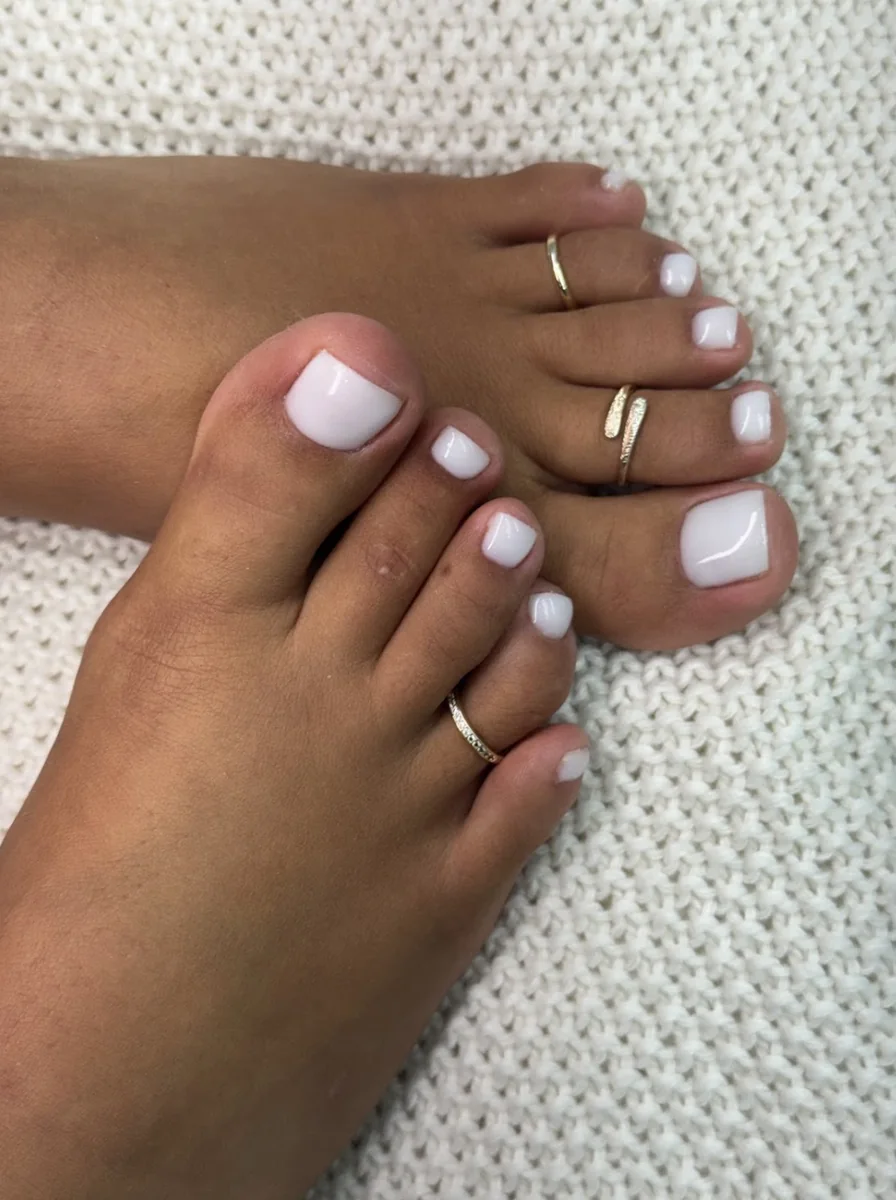
2. Shift a tiny accent toward the center
A central dot, small flower or single line can still read as one shape when a little nail becomes visible behind the coating. Sketch it with space around all sides. Then mark a new band with a pencil. The extra ink line is a way to preview the layout before the dry pedicure, without assuming how quickly your own nails will grow.
For a Russian pedicure that uses a pale base and a darker dot, look at the placement from your normal viewing distance. A single dot with breathing room can be easier to read than a cluster you can only see in a close-up.
3. Compare four layouts on the same sketch
Draw four short arches for the same large nail. Keep the color and size of the accent constant. Circle the example that still looks balanced when you add a small blank band at the base. Change only one thing per sketch so you know whether placement or the shape itself changed your preference.
For a dry pedicure with a mark near the tip, check what you would want after a future trim or service. A tip line is easy to see from above. If keeping the entire motif matters, leave some color between it and the very edge.
| Placement | What to compare | Detail to discuss |
|---|---|---|
| At the base | How the arc reads beside a new band | Space behind the arc |
| Center | Whether the motif still has room around it | Size relative to nail width |
| Near a corner | Whether the accent still reads alone | Which corner you mean |
| Near the tip | How much color remains in front of it | Distance from the edge |
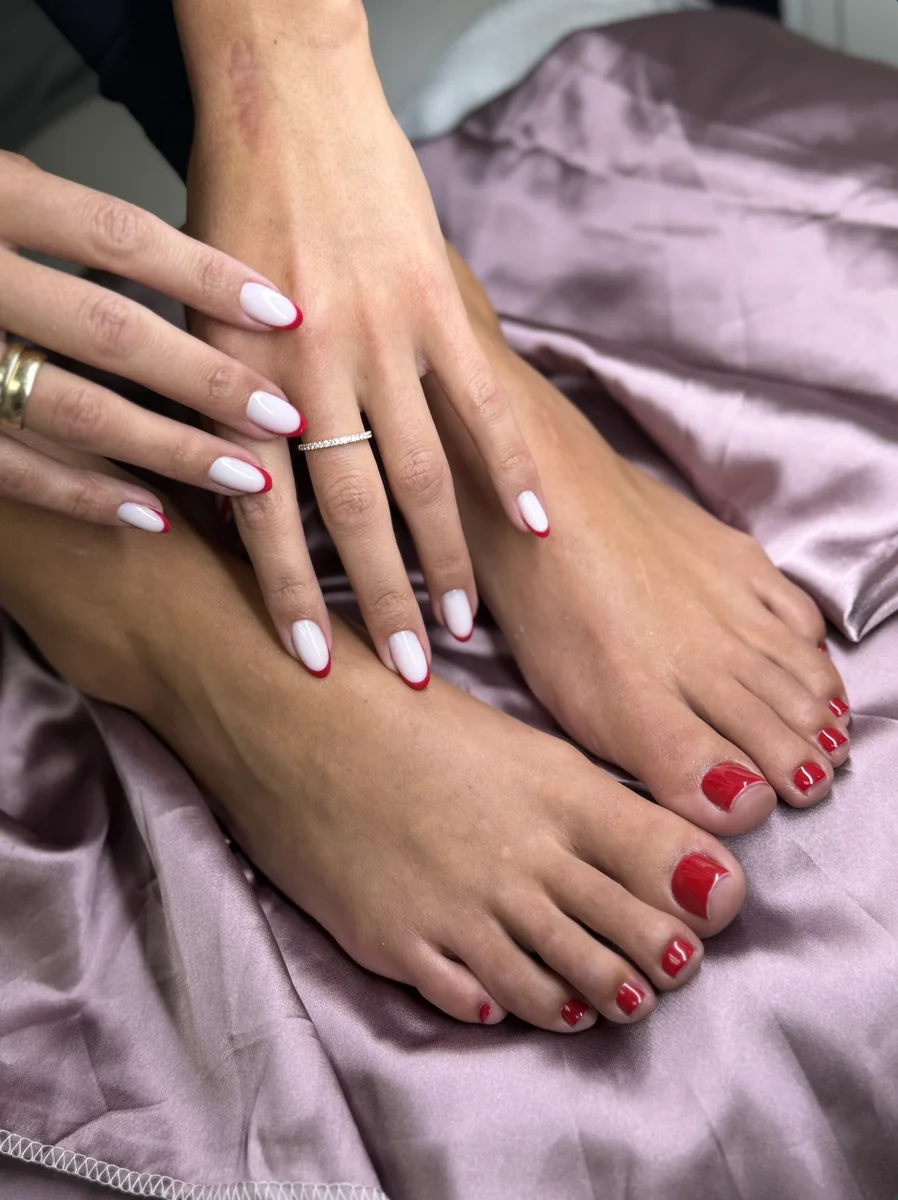
4. Add one clear sentence to the photo
Try ‘One dot on each big toe, slightly toward the outside corner, with space around it.’ Add which toe should carry the accent if you only want it on one foot. If you found the idea while looking up ‘dry pedicure near me,’ confirm that the booking includes the color finish you want and ask how to request the art.
A sketch can be rough. Use it to point to one placement and help the technician see how you would recognize the design when you look down at your toes. Keep a photo of the result for your own next appointment.
5. Use the Tampa menu to choose the base service
Coming from Bayshore Beautiful or Bayshore Gardens, check your booked Tampa studio and review the dry pedicure menu. If you already have color on your toes, mention the product when you ask what to book. The location and the design can both go in your appointment notes.
At the visit, hold the sketch the way you look down at your foot. Point to the position before the technician starts the accent. An agreed position makes it easier to repeat or change the design next time.
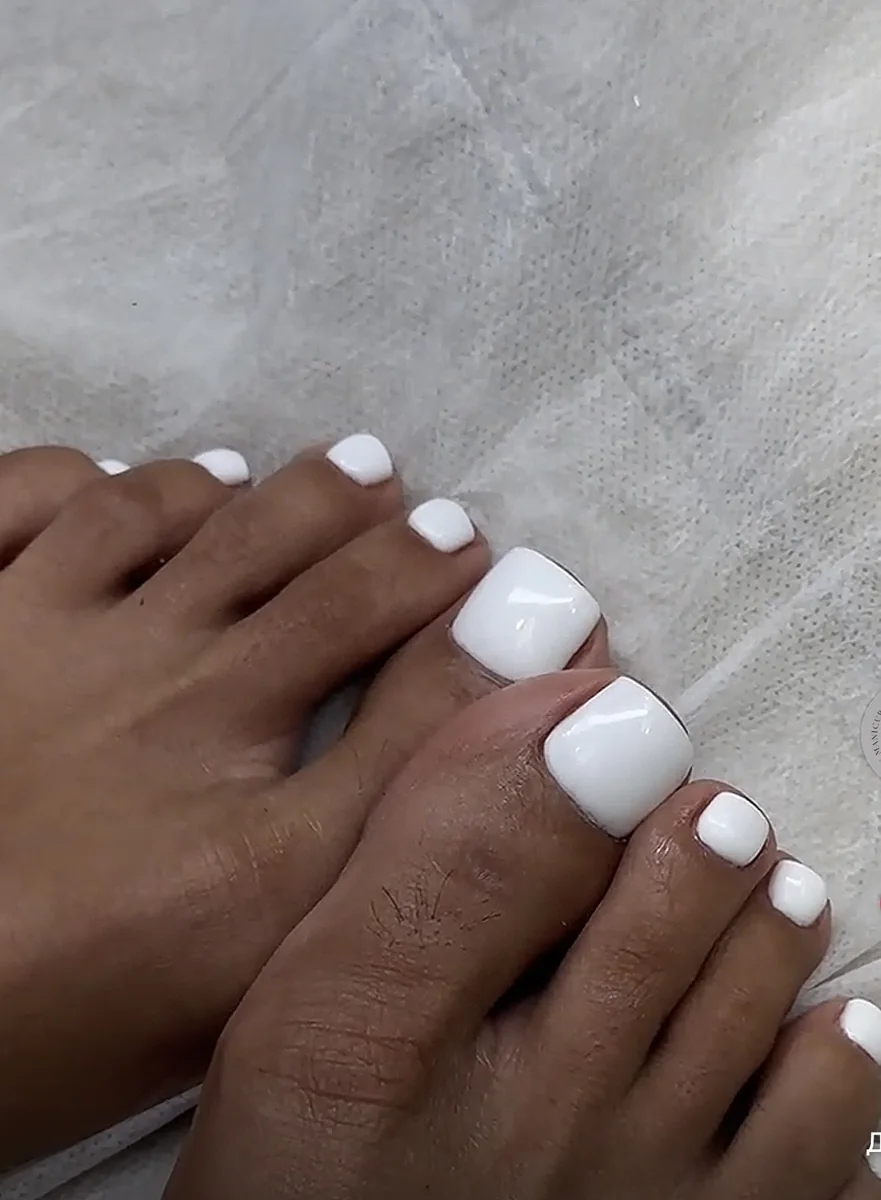
Bring your toe-art reference to your next visit
Check the Tampa studio locations and tell the studio whether you want color and one accent. Bring your example so the technician can check the placement against the space on your nail.