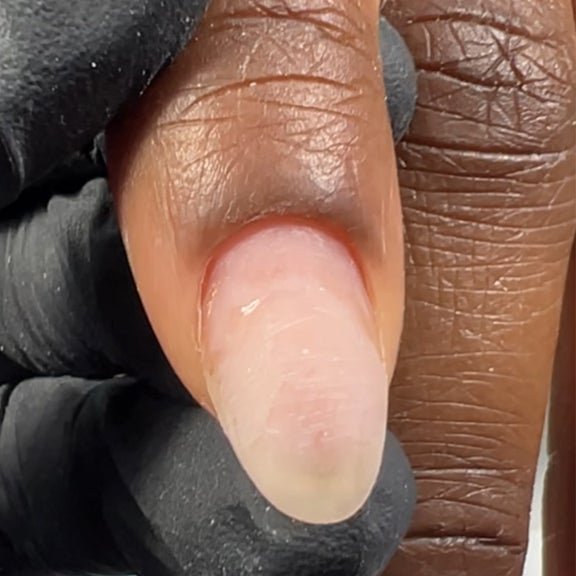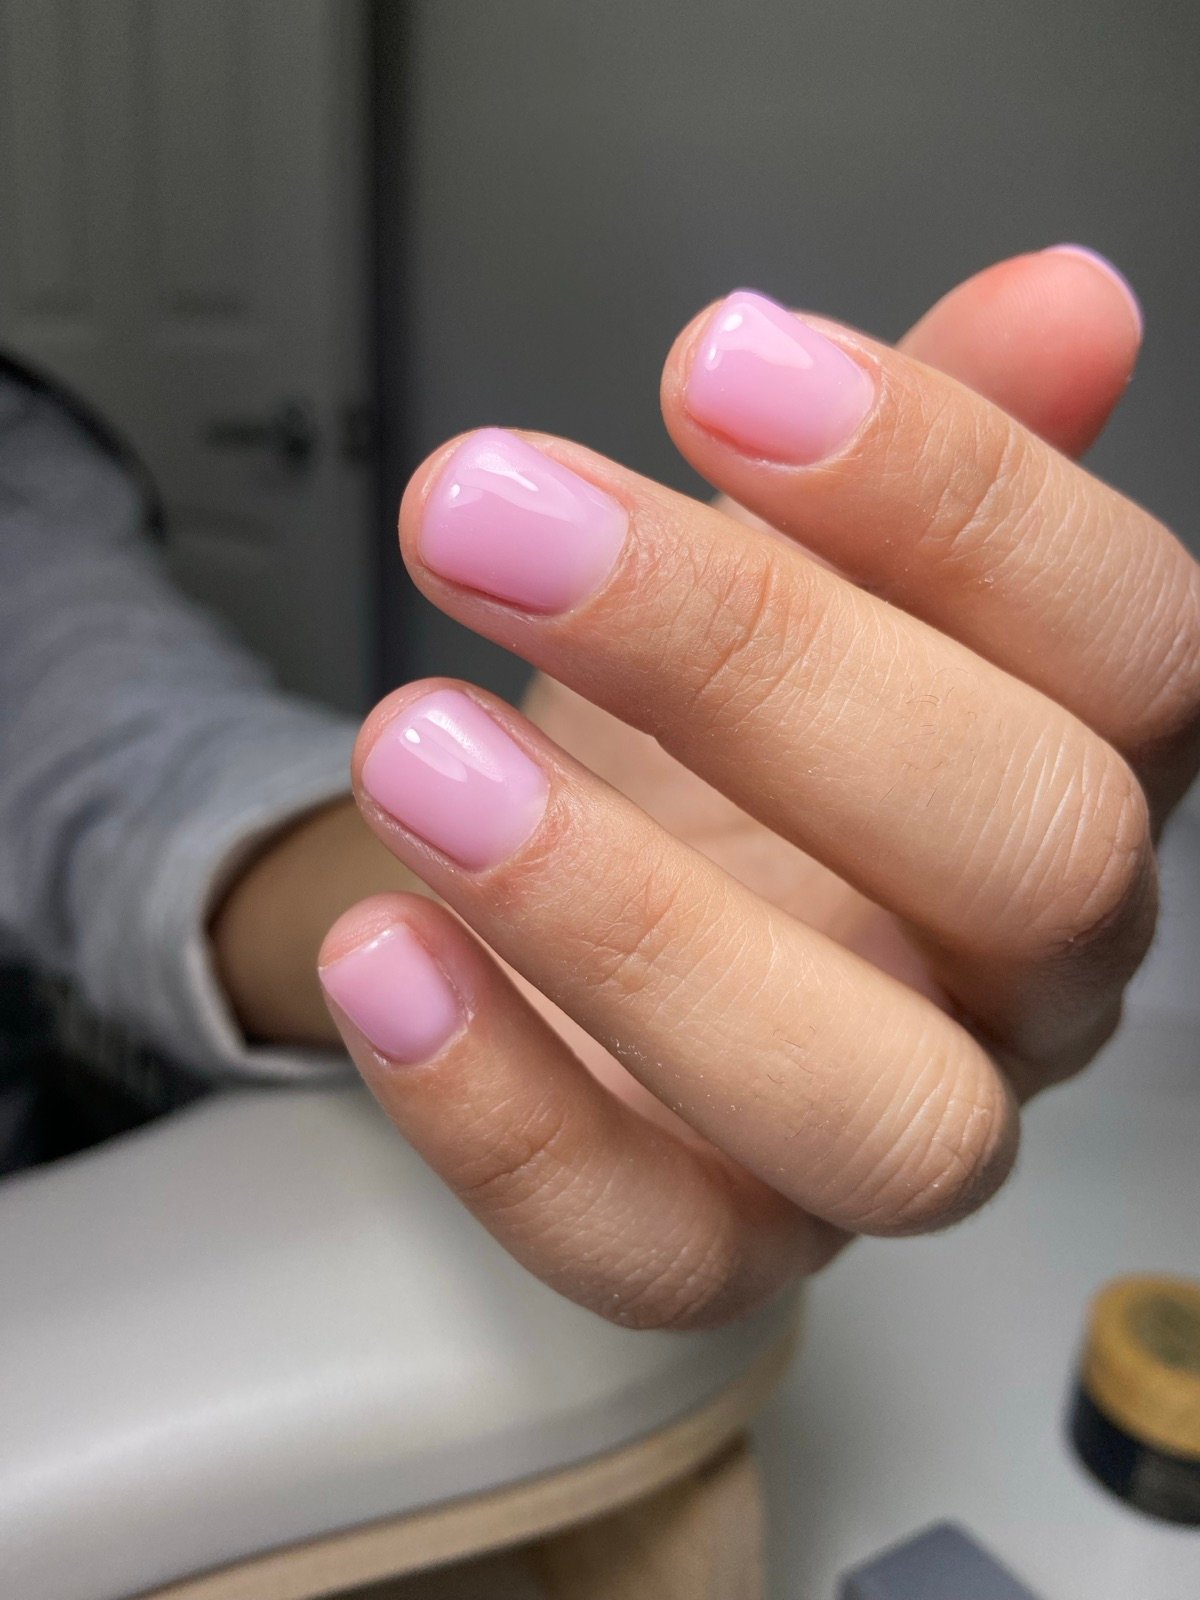
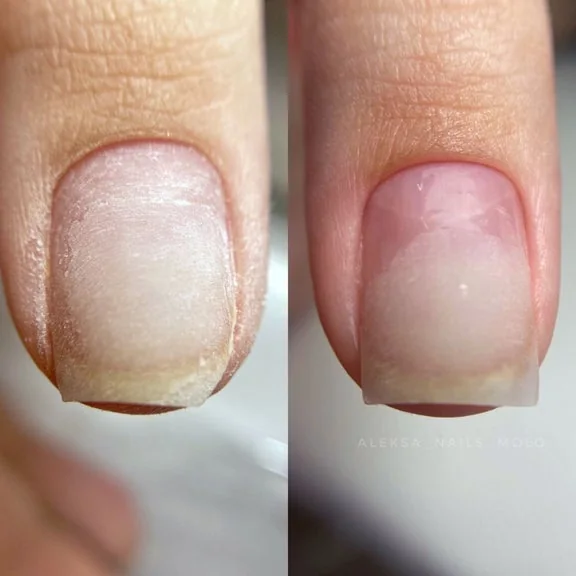
Before your next Russian manicure in Tampa, take three unfiltered photos of a chipped tip. Begin with the full hand, then capture the nail from above and at fingertip height. These views show which finger is involved, where the outline changes and how the chip looks beside the thickness of the tip.
1. Identify the finger before a Russian manicure
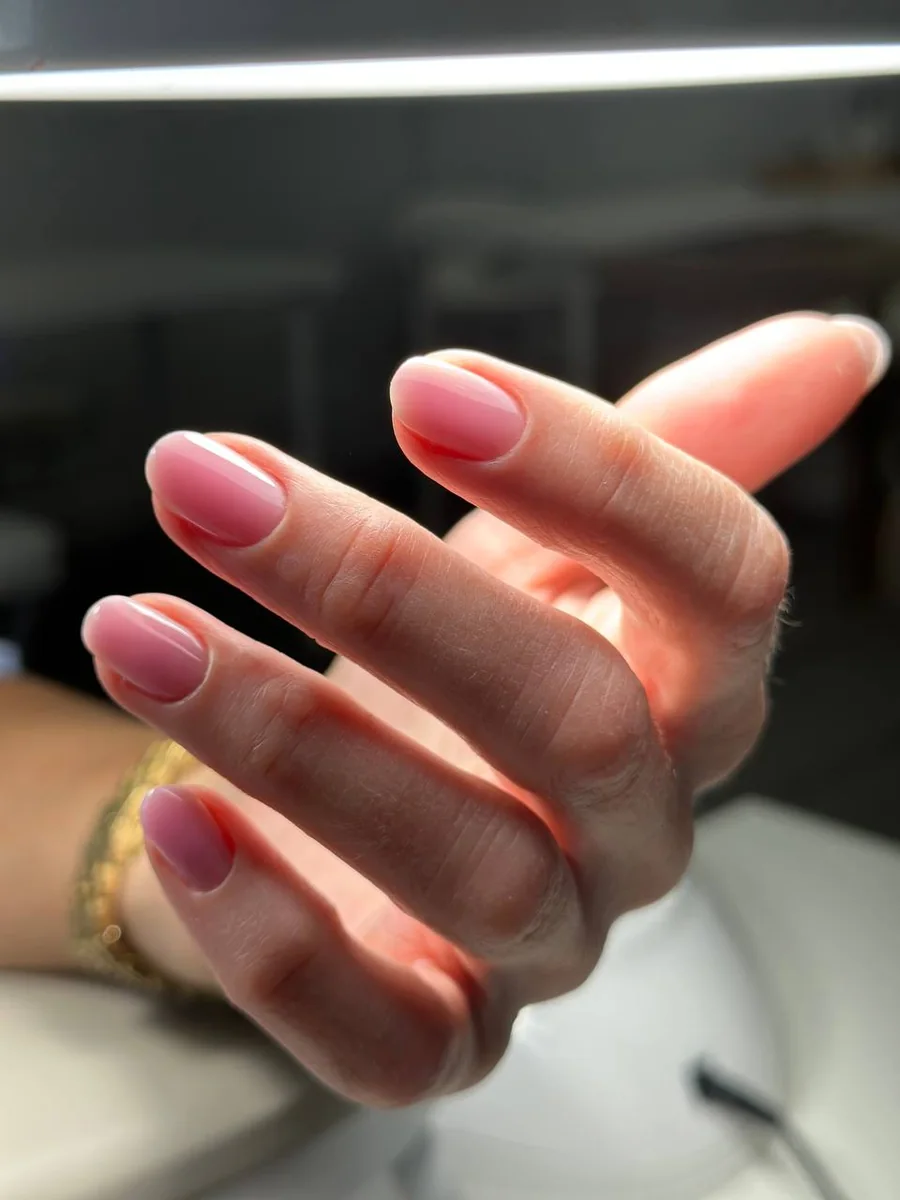
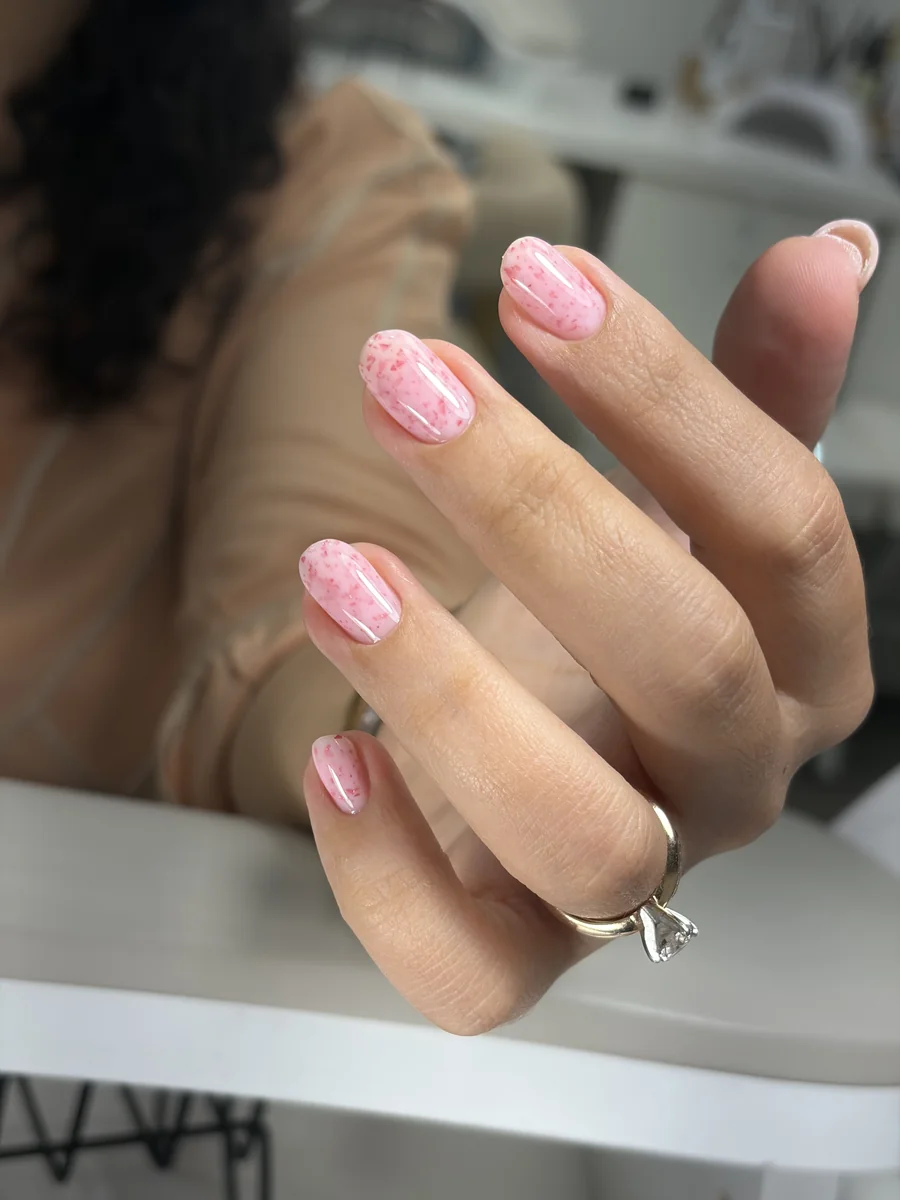
Rest your whole hand on a plain, light surface with your fingers relaxed. Make the affected fingertip fully visible and take the first photo from above. Include nearby fingers so the reader understands which nail you are showing. If multiple tips have visible changes, note which one you need help with first.
If you found your technician through a ‘Russian manicure near me’ search, include the hand and finger name in the first line of your message. Start with ‘My right middle finger has a chip at the outer tip.’ That one sentence keeps a set of close-up photos easy to follow.
2. Show the outline of the free edge
For the second image, move close enough to see the irregularity and pull back until the full outline of the nail fits in the frame. Use soft light from the side so the tip is easy to see against the surface behind it. Check that the camera focused on the edge and the place that changed.
Before a Russian manicure, the close-up can help distinguish the chip you want to discuss from older wear elsewhere on the hand. Keep the original image. If the line is hard to find, duplicate the photo and mark the area beside it without covering the edge.
3. Photograph the side without moving the chip
Lower the phone to fingertip height so you can see the profile of the tip. Hold the hand still and take the photo without pulling on the edge. If a large reflection hides the area, move the light or shift a few degrees and review the frame again.
A Russian nail salon can use this extra angle to understand the location you mean. The photo is a starting point for a conversation. The studio can tell you when it needs an in-person look before giving an answer.
| Photo | Include | Why it helps |
|---|---|---|
| Whole hand | All fingers with the affected tip visible | Identifies the nail |
| From above | Both corners and the complete front edge | Shows where the outline changes |
| From the side | The end of the finger and the nail profile | Shows the depth and position of the visible chip |
4. Add one factual note before choosing the service
For a Russian manicure in Tampa, say when you noticed the chip and whether you already have polish, gel or extensions on the nail. If you are unsure what was used, share the service name from your receipt if you have it. Describe what you can see and leave the decision about the service to the technician.
Tell the studio whether the question is about today's nail or an upcoming full Russian manicure. If you already have a booking, include the appointment date and studio name so the team can find it.
5. Send the reference to the Tampa studio you booked
If you are coming from SoHo or Harbour Island, confirm the Tampa studio before traveling. Use the Russian manicure service guide to check the menu, and ask the studio which option applies to your set.
Keep the three photos in the order you want them viewed. Use the whole hand to introduce the problem, the overhead photo to show its position and the side photo to add detail. Ask what the technician would need to see in person.
Ask which visit to book
Find your Tampa studio and use the contact details on its page. Have the images and the name of the existing product available when you ask about the appropriate service.