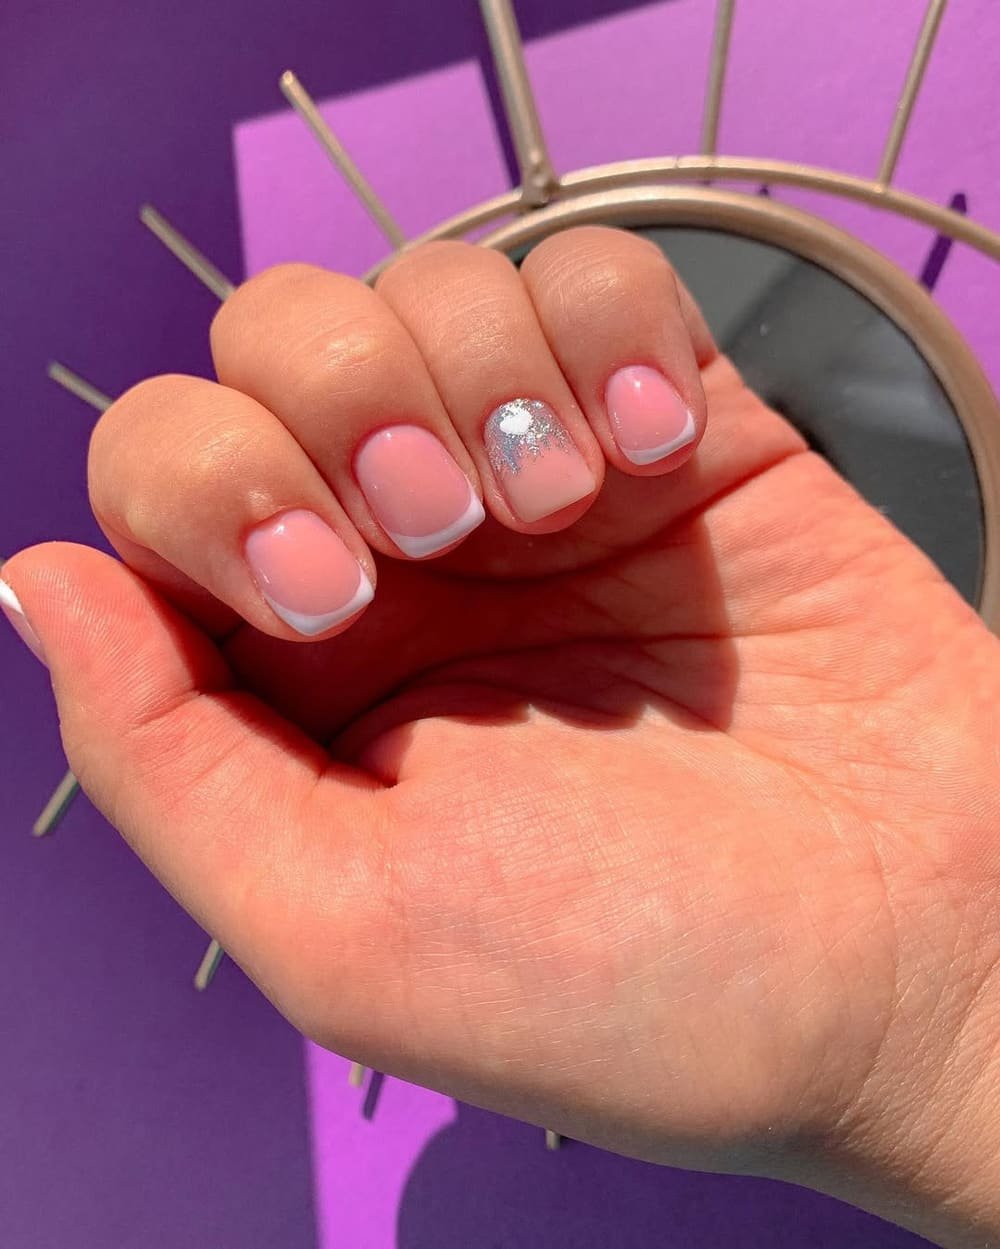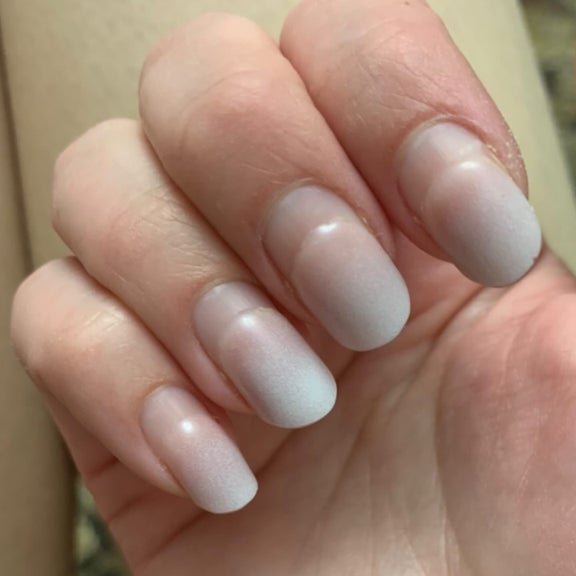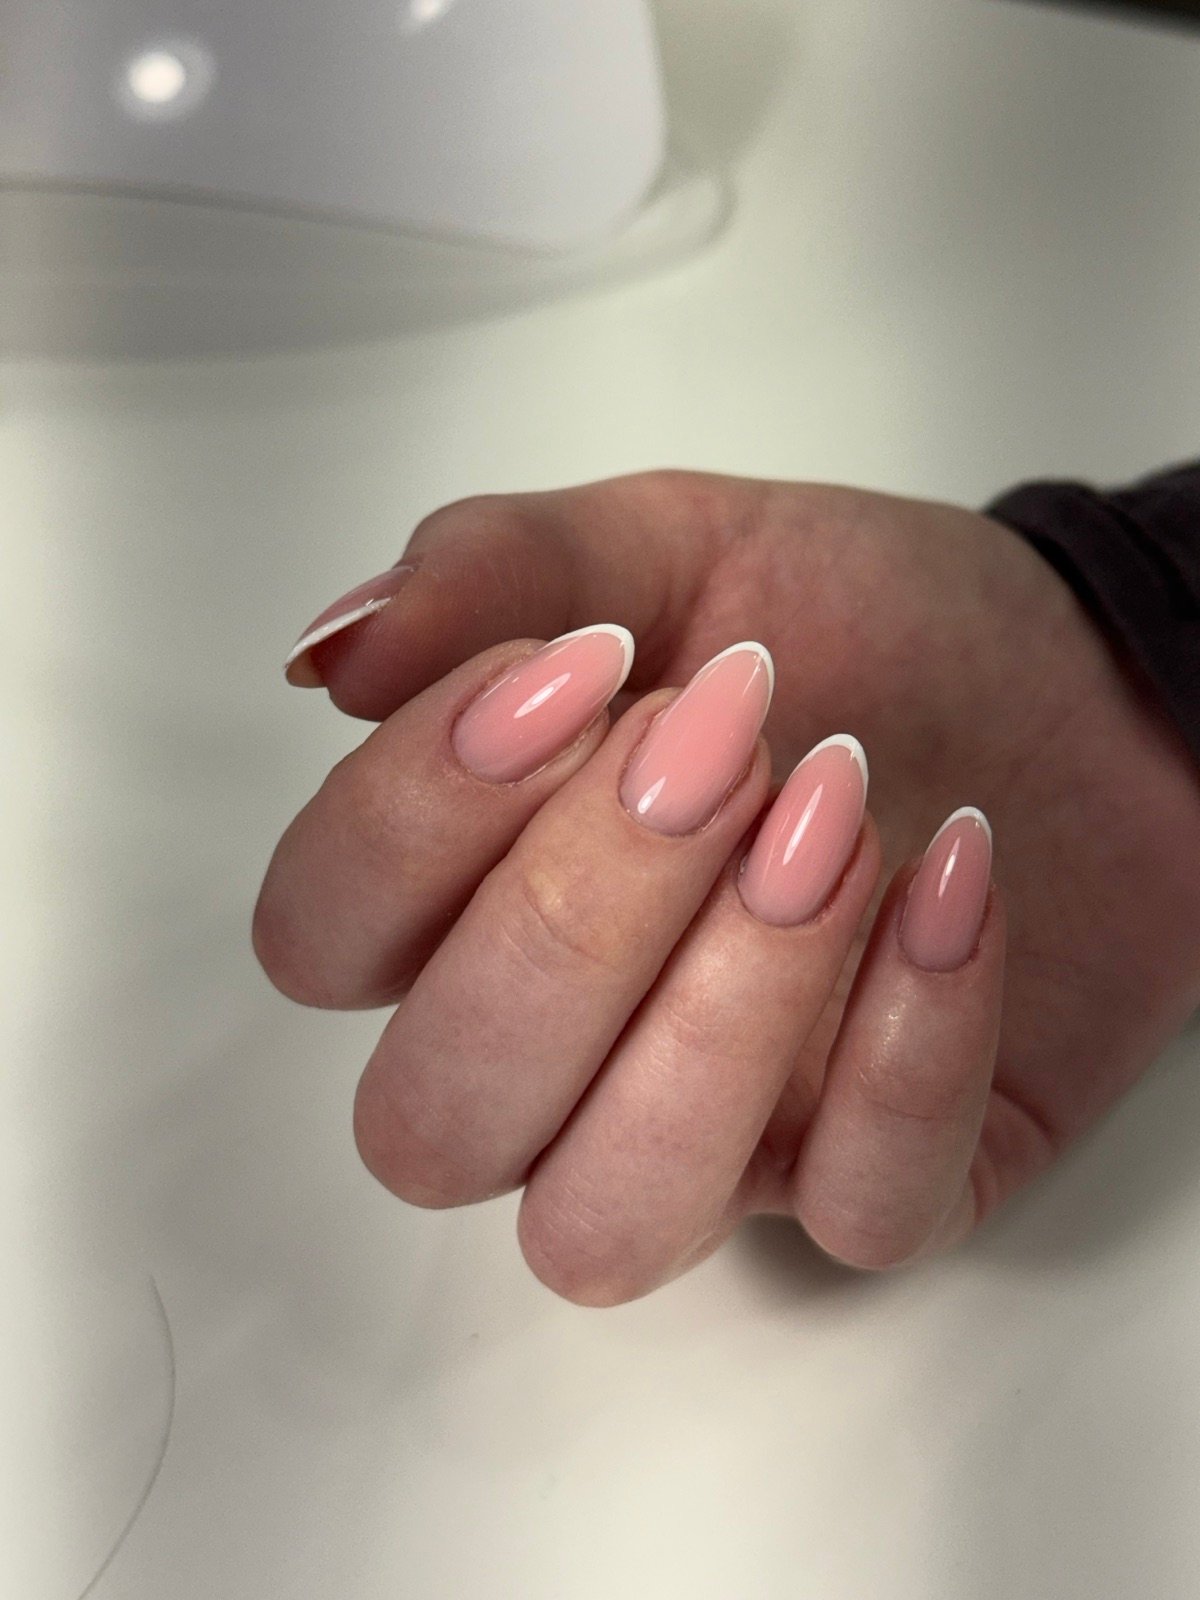

A first extension set can look longer on your hand than it did in a saved photo. Your nail bed and fingertip give the design a different frame. Start with what you like about the reference, then decide how much tip you want to see past your own fingers.
Find a reference that shows both the tip and fingertip
Save a front view for the shape and a side view for the length if both are available. Close crops can hide where the finger ends. Tell the technician if you mainly like the taper or the position of the design. Both details can be discussed separately from the amount of added length. A soft oval and a pointed almond can look different even when they extend about the same distance.
Name two movements you do every day
Think about the hand movements you use without looking, such as unlocking your phone with a thumb or unzipping a bag with your index finger. Tell the technician where your fingertip makes contact and which movement you would least want to change. Ask to see the proposed length from the side on one finger before settling on a full set. Check the thumb separately if its usual movement is different.
Book the extension service and confirm the details
Review the studio’s Gel-X and hard gel options before you reserve. Mention existing product, an accent design and any plan to keep certain fingers shorter. Ask what can be confirmed when you arrive if you are still deciding between two lengths. Save a side photo after the visit if the length feels right in your routine.
Adapt the nail art to a shorter extension
If you want short nail extensions for your first set, you can usually keep one detail that drew you to a longer reference. If the photo shows a wide French tip, ask to see a finer version that leaves room for the base color. If a line runs along the full length, show the part of the line you like and ask where it could start on your set. A drawn example or a swatch gives you a chance to judge the proportions before the design goes on.
Scale a charm or painted motif to the space available. A small placement near one side may leave more of the shape visible than a large motif in the middle. If you want natural-looking nail extensions, compare plain and decorated examples of the same shape. The amount of visible base and the design placement can change how long the set appears in photos.
Allow for growth before your next appointment
Think beyond the first day. If the side view already looks as long as you would comfortably wear, ask whether taking it a little shorter at the first visit would suit the shape you chose. Discuss how you would shorten or refresh the set later and how that affects the service you reserve. Take your own growth and likely appointment dates into account when you choose how much length to add.
If you are deciding between products, read the studio’s Gel-X and hard gel booking guide before choosing your appointment. A saved photo can show what you want the nails to look like. Tell the studio about any old product and ask how the outline in the reference would work at your chosen length.
Nail Boss Studio Tampa
Plan your first extension appointment
Compare Gel-X and hard gel at the Tampa studio and bring the views that show the shape and length you want.